
Public Event website
Here the user has the option to Sign up / Register.

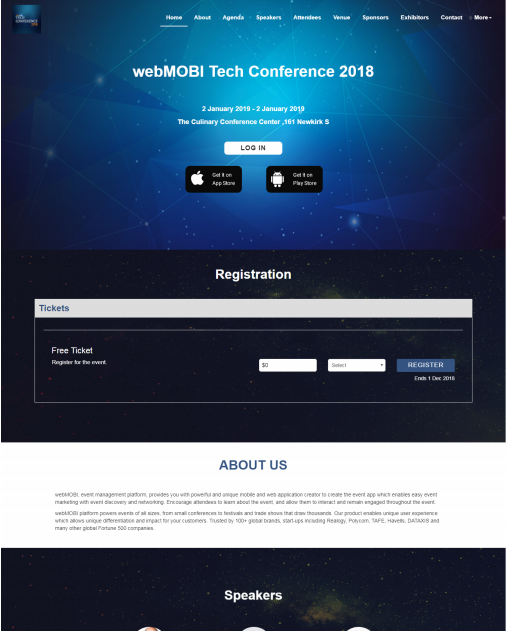
On the Home page, in the Login section users can see the option to Sign Up for the event website.
In the Dashboard Admin have the option to enable or disable the Ticketing and Preference form.

Enabling Ticketing
After enabling the Tickets will be shown on the website. No amount will be shown for the free Ticket and the respective amount will be shown for the paid Ticket. The user can select the number of Tickets and click on the Register option to buy the Tickets.
Disabling Ticketing
After disabling no Tickets will be shown on the website.
Enabling Preference form
After selecting the number of Tickets and completing the basic registration users will be navigated to a Preference form page where the user will have to respond to the predefined questions mentioned by organizers. Those responses will be stored on the dashboard.
After submitting the preference form the user will see the buyer and attendee details on continuing Tickets will be generated where the user can download.
Disabling Preference form
When the Preference form is disabled after selecting no tickets and completing the basic registration user will be navigated directly to buyers and the attendee details page on the continuing ticket will be generated where the user can download.
After setting up all the features in the dashboard the user needs to click on the “Publish” option after the app is published successfully, the user can see the website by clicking on the desktop icon in the “Mobile and Website” option.