
For uploading the speakers through the XLS file, you would need to click on the “Upload XLS” button.
Note: This method helps you to upload the speaker’s information in bulk.
-medium.png)
Click on the “Download Template” option to download the excel template in which you need to fill in the speaker's information.
-medium.png)
You can upload the images of the speaker in the upload files section. For that, you need to put all the pictures of the speakers in a folder with their exact corresponding names and convert that folder into a zip file. You will then need to upload the zip file.
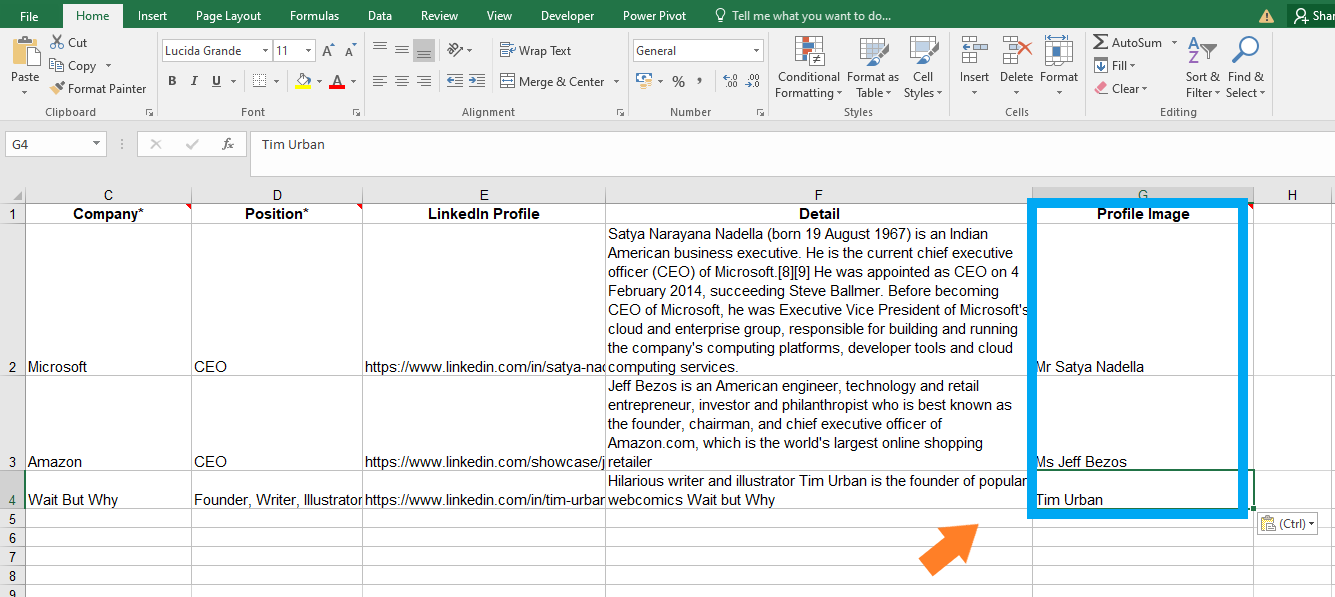
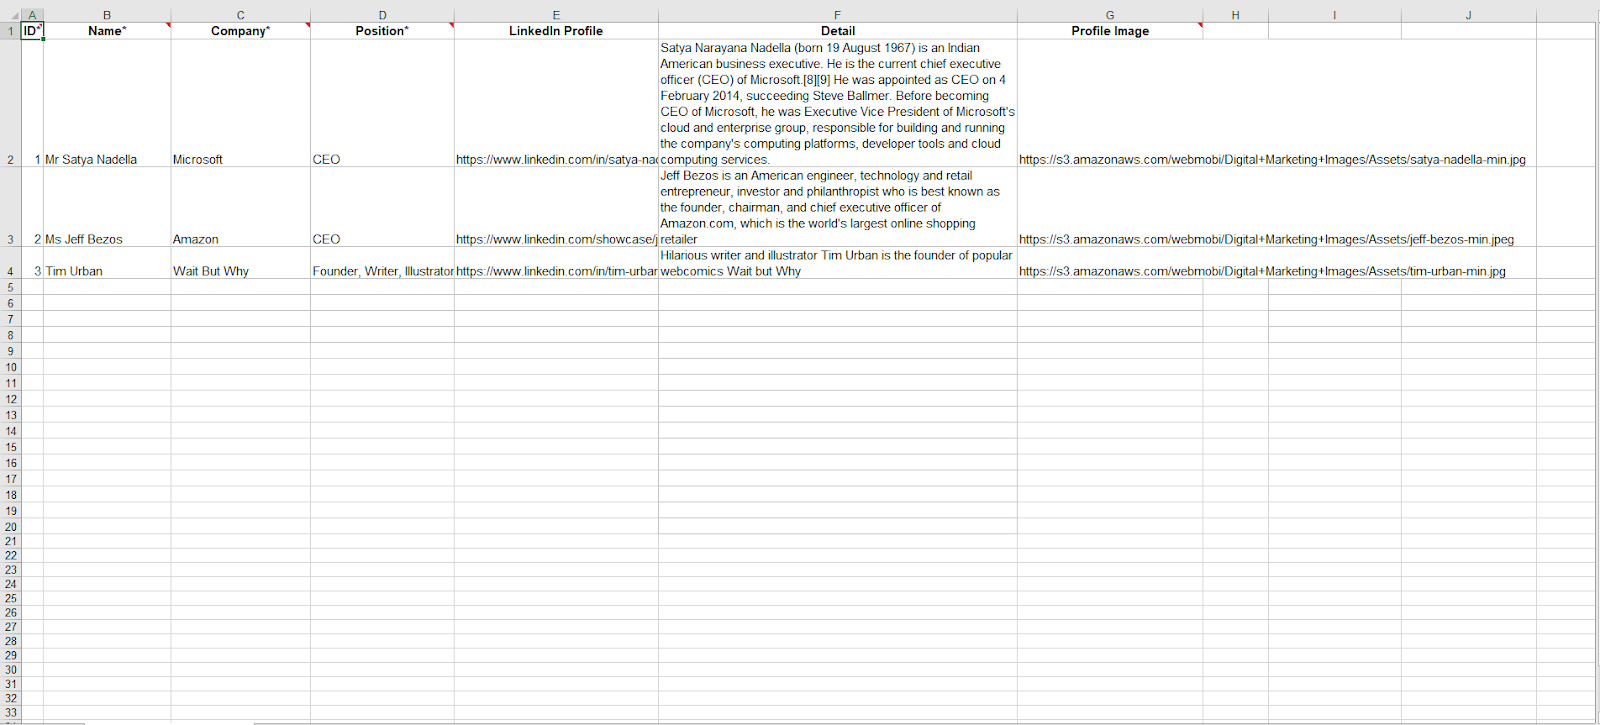
Fill in the speaker details in the template according to the format provided to make an XLS file that you can upload. To map the zip photos with the respective Speaker, you have to name the profile image column according to the speaker.
Points to follow in Template
1. The ID column should be in increasing order.
2. Name, Company, Email, and Position are mandatory fields.
Once you are done with all this, you can upload the XLS file by clicking on the “Upload XLSX” button and browsing to choose the specific file.
-medium.png)
After uploading, you’ll get a pop-up indicating that “Speaker details Saved successfully”. You can save and publish this and you would be good to go with your speaker details.
Viewing the Speaker in the App
